Devlog 01 · August 30, 2026
Hexes, terrain, and clouds
Every game has a first moment when it stops being a collection of plans and starts looking like a place. For Rogue Provisions, that moment arrived with a field of hexes, two terrain textures, and clouds drifting slowly overhead.
This first development pass was about proving the visual foundation: establishing the map geometry, getting art through a repeatable pipeline, and adding one small atmospheric effect that makes the board feel less static.
Establishing the grid
The starting point was a Godot debug layer that draws an eight-by-six, pointy-sided hex grid. Each cell is labeled by column and row so that positioning problems are visible immediately. Odd columns receive a half-tile vertical offset, while neighboring columns overlap by one quarter of a tile's width.
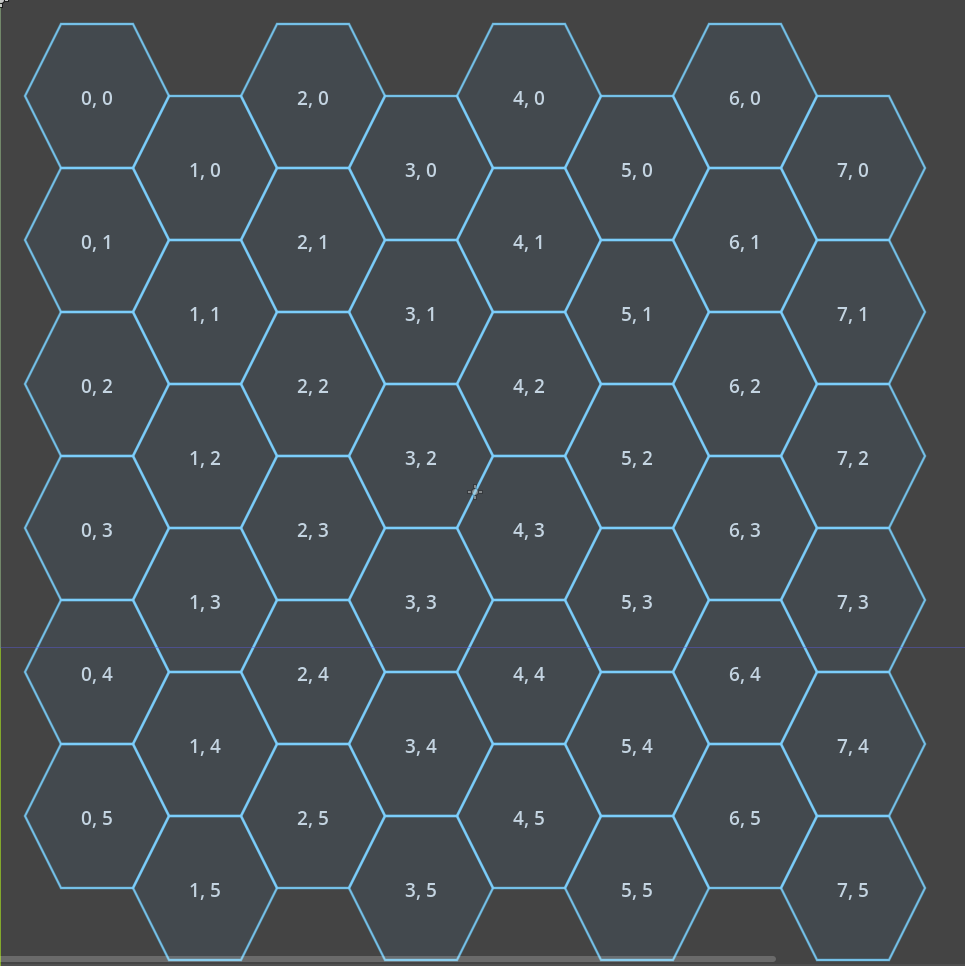
Those labels and bright cyan outlines are temporary, but they are useful scaffolding. Before characters, movement, or combat enter the picture, the grid needs to be predictable enough that every other system can trust it.
From Pixaki to Godot
The terrain workflow starts with 144×144 pixel source tiles. That gives me a consistent canvas to draw in Pixaki and matches the dimensions expected by the debug hex.
An exporter then performs the less intuitive part of the process. It compresses the source artwork vertically by two thirds—turning the artwork into a 144×96 strip—repeats that strip into a 144×144 output frame, and applies the hexagonal transparency mask. The final PNG still occupies a 144×144 frame, which keeps placement simple in Godot, while the artwork inside it carries the vertical compression.
The current loop is:
- Draw a 144×144 tile in Pixaki.
- Export it into the project's
uncompressedart folder. - Run the terrain compression script.
- Let Godot import the generated, masked PNG from the
compressedfolder.
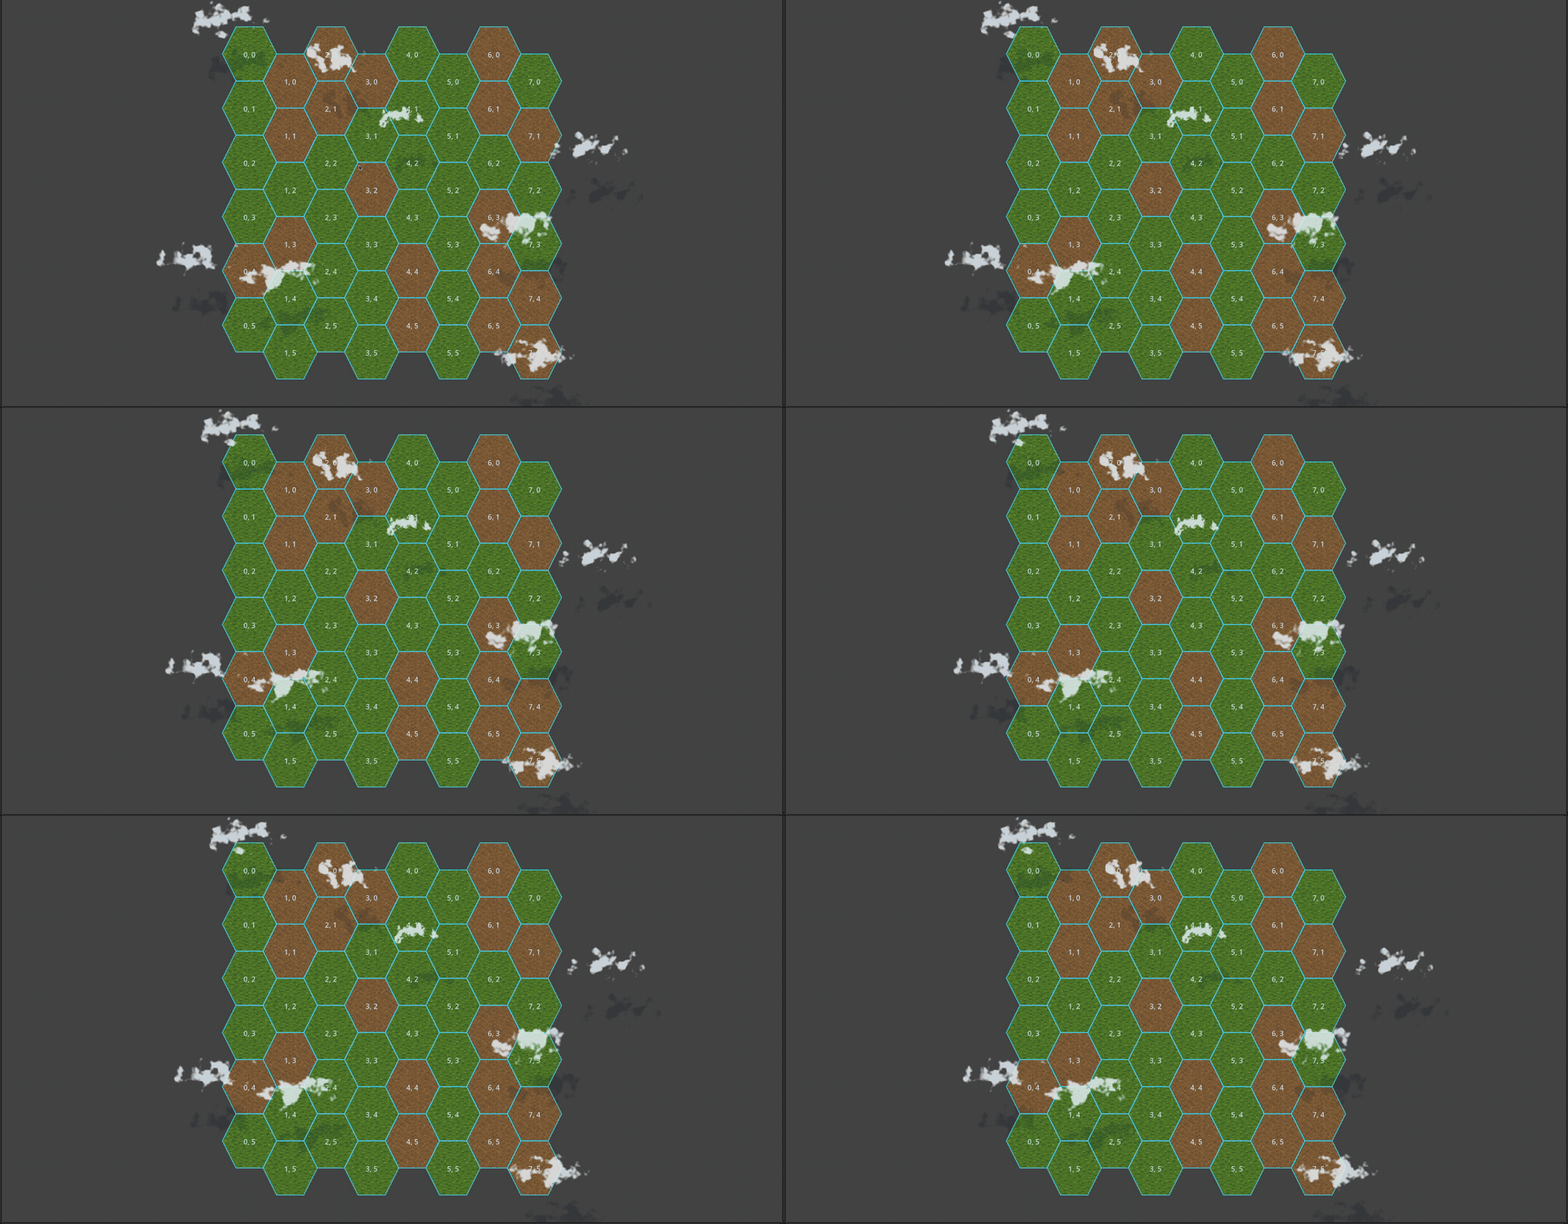
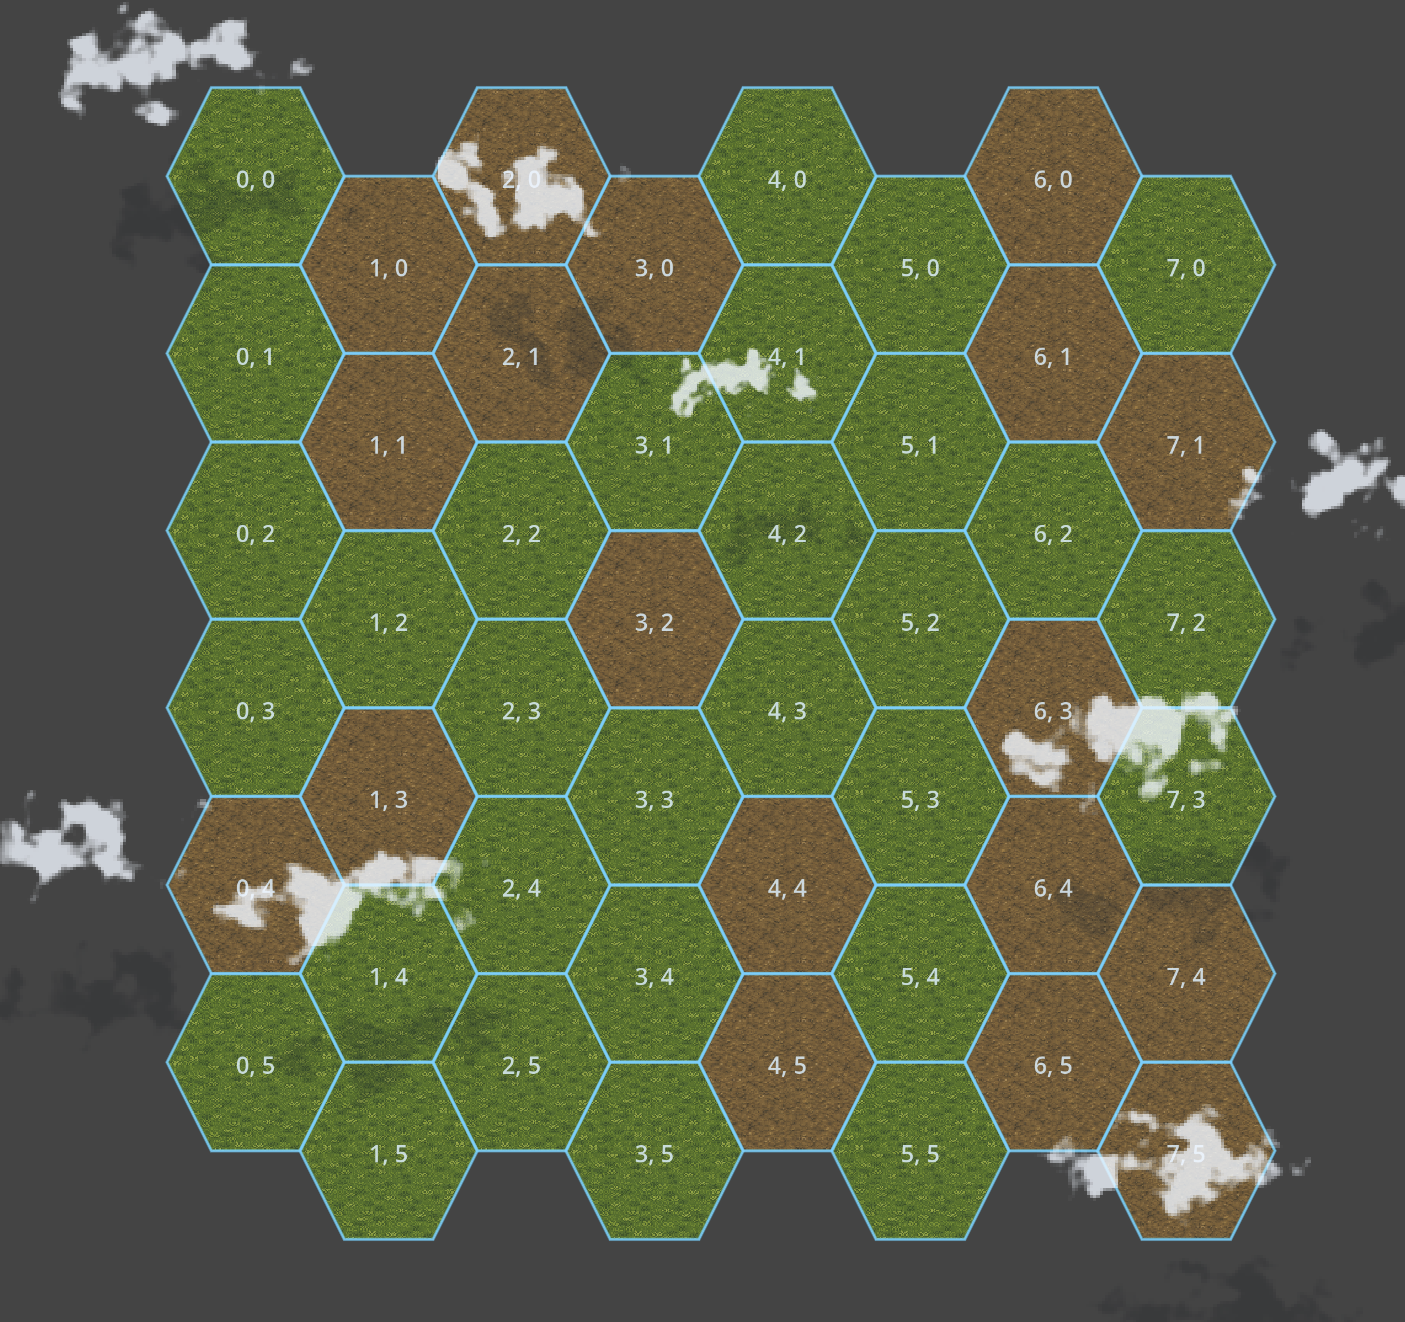
Grass and dirt were the first two tiles through that pipeline. A seeded map generator now chooses between them across the grid, so the same test map can be reproduced while the rendering code changes.
Battle for Wesnoth is an important reference for this project, both in how a readable hex world can be constructed and through the open-source work its contributors have published. I am still learning what parts of its art workflow make sense for Rogue Provisions, so the current exporter is as much an experiment as it is a tool.
Weather overhead
Once the terrain was in place, we added a procedural cloud layer. Each cloud begins as a seeded FastNoiseLite texture, shaped with an oval falloff so the noise resolves into an irregular cloud instead of filling a rectangle. The clouds receive small variations in size and speed, drift horizontally, and wrap back around when they leave the map.
Every bright cloud has a paired, translucent dark copy below it. The pair moves together, but the dark mask is offset across the terrain to read as a soft shadow. It is a simple effect, but it immediately gives the flat test board a sense of height and motion.
What comes next
This is still a debug view. The coordinates and cyan outlines will not remain this loud forever, and the terrain palette, cloud shapes, density, and shadows all need tuning. But the important pieces now exist as separate layers: map geometry, source art, processed terrain, procedural placement, and atmosphere.
That is a modest first milestone, but it is enough to establish the rhythm of development: build a small system, make it visible, learn from it, and keep moving.